How to create a Diia.Signature yourself — step-by-step guide
With the development of digitalization in Ukrainian institutions, there has arisen a need for a fast means of identity verification in the applications of the Ministry of Social Policy, the Ministry of Foreign Affairs, the Ministry of Digital Transformation, and others. One of the simplest and quickest tools today is the “Diia.Signature” feature integrated into the Diia app.
IMPORTANT!
Diia.Signature is not a QES (qualified electronic signature) or EDS (electronic digital signature). This function simplifies the verification and identification process, but Diia.Signature cannot be used as a QES when signing documents in electronic form. For that, you need a qualified electronic signature, which can be created via services such as PrivatBank, Monobank, or the browser-based platform Vchasno.QES.
It is worth noting that during the installation or use of the Diia app, you might encounter issues with accessing it. In this case, we recommend using a VPN service with Ukrainian servers. We suggest the cross-platform app ClearVPN, which works for both Android and iOS systems.
Website link: https://clearvpn.com/ua/
To create a Diia.Signature, you need to:
1.Have the Diia app installed on your phone.
2.Download it from Google Play or App Store.
It is not recommended to download the app from browser-based sources, as this may cause data synchronization errors.
3.Log in to Diia.
You can do this in one of the following ways:
Via BankID — your personal data will be synchronized with your bank (if it’s among the listed options).
Via NFC — for this, you need to:
→ Use your phone’s camera to scan your ID document that confirms your identity.
⚠️ It is not recommended to log in via NFC, as users often experience reading errors due to the app’s high load.
Go to the “Menu” section.
In the bottom right corner of your phone screen, tap the icon of a person labeled “Menu.”
Select “Diia.Signature.”
In the opened menu, tap on “Diia.Signature.”
Activate Diia.Signature.
Tap the switch to the right of the text “Activate Diia.Signature.”
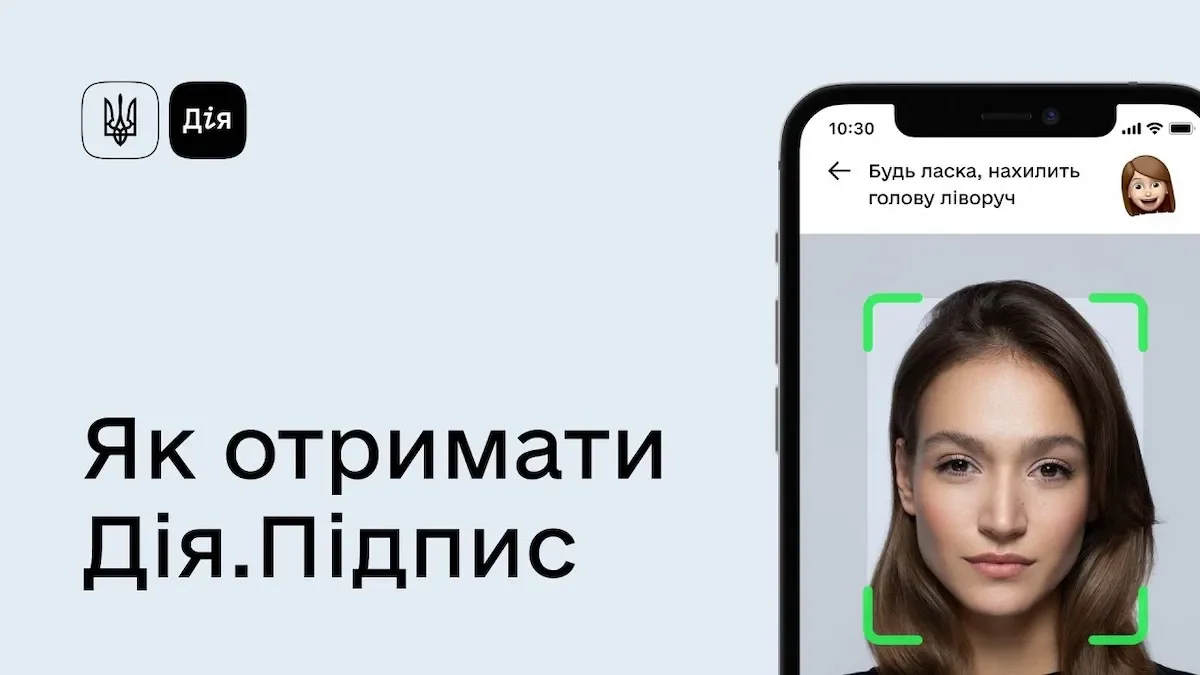
Complete photo verification.
At this stage, you must verify your identity using the front camera. Follow the on-screen instructions — place your face fully within the frame. When positioned correctly, the frame corners will turn from white to green.
During photo verification, you may also receive prompts such as “Smile” or “Blink” — these help confirm your identity and physical presence during the verification process.
How to create a Diia.Signature yourself — step-by-step guide
With the development of digitalization in Ukrainian institutions, there has arisen a need for a fast means of identity verification in the applications of the Ministry of Social Policy, the Ministry of Foreign Affairs, the Ministry of Digital Transformation, and others. One of the simplest and quickest tools today is the “Diia.Signature” feature integrated into the Diia app.
IMPORTANT!
Diia.Signature is not a QES (qualified electronic signature) or EDS (electronic digital signature). This function simplifies the verification and identification process, but Diia.Signature cannot be used as a QES when signing documents in electronic form. For that, you need a qualified electronic signature, which can be created via services such as PrivatBank, Monobank, or the browser-based platform Vchasno.QES.
It is worth noting that during the installation or use of the Diia app, you might encounter issues with accessing it. In this case, we recommend using a VPN service with Ukrainian servers. We suggest the cross-platform app ClearVPN, which works for both Android and iOS systems.
Website link: https://clearvpn.com/ua/
To create a Diia.Signature, you need to:
1.Have the Diia app installed on your phone.
2.Download it from Google Play or App Store.
It is not recommended to download the app from browser-based sources, as this may cause data synchronization errors.
3.Log in to Diia.
You can do this in one of the following ways:
Via BankID — your personal data will be synchronized with your bank (if it’s among the listed options).
Via NFC — for this, you need to:
→ Use your phone’s camera to scan your ID document that confirms your identity.
⚠️ It is not recommended to log in via NFC, as users often experience reading errors due to the app’s high load.
Go to the “Menu” section.
In the bottom right corner of your phone screen, tap the icon of a person labeled “Menu.”
Select “Diia.Signature.”
In the opened menu, tap on “Diia.Signature.”
Activate Diia.Signature.
Tap the switch to the right of the text “Activate Diia.Signature.”
Complete photo verification.
At this stage, you must verify your identity using the front camera. Follow the on-screen instructions — place your face fully within the frame. When positioned correctly, the frame corners will turn from white to green.
During photo verification, you may also receive prompts such as “Smile” or “Blink” — these help confirm your identity and physical presence during the verification process.